WALKABOUT
Plugins for DaVinci Resolve and Premiere Pro · Apple Silicon Mac

Automatic face blurring for Resolve and Premiere

Blurring every stranger in a street video by hand can take hours. Face Privacy finds the faces in your footage and blurs them for you, right inside DaVinci Resolve or Premiere Pro. You check the result, fix anything it missed, and export. You can also leave yourself or your friends unblurred. Everything runs on your Mac.

Free · No account · No watermark

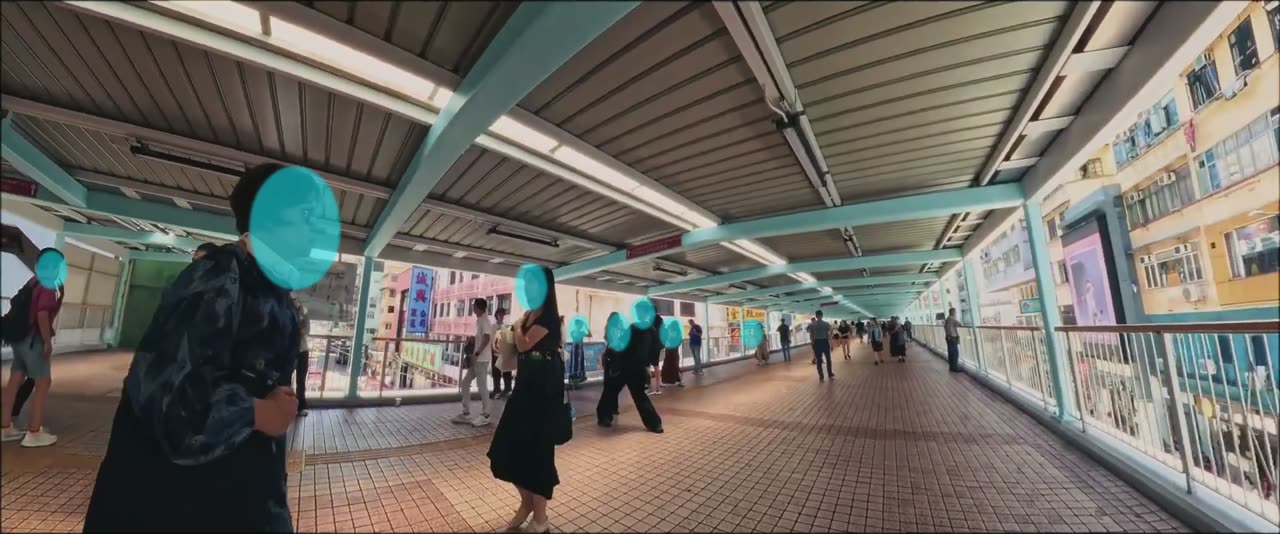
HONG KONG · FOOTBRIDGE00:00:00:00
Mask overlay shows every area Face Privacy covers
Real output from WA Face Privacy in DaVinci Resolve. My own footage, analyzed once, no manual fixes.
Nothing is uploaded

Your footage stays on your computer. No account needed.

Works inside your editor

It's a normal effect in Resolve and Premiere. You don't need any other app.

One installer

Installs all four tools. Look for WALKABOUT in your effects list.

Made for street footage

Long handheld clips with lots of people walking past.

Why blur faces

The people in your video didn't ask to be in it

If you film in the street, you film strangers. Most won't mind, but leaving their faces visible can cause real problems for them and for you.

Your video can be taken down

On YouTube, anyone who can be recognized in a video can file a privacy complaint. If you don't blur them or cut them out, YouTube can remove the video. Other platforms have similar rules.

The law may be on their side

In the EU, a recognizable face counts as personal data, and countries like Spain and France give people a right over their own image. Publishing strangers' faces can get you into trouble, and more easily if the video earns money.

Children and sensitive places

Kids, and people outside hospitals, clinics, shelters, places of worship or at protests, need the most care. Being recognized in one of these places can hurt someone.

Some people can't afford to be found

You don't know who walks past your camera. Someone may be hiding from an abusive ex, or simply not want their family, boss or neighbours to see where they were.

This is general information, not legal advice. Rules are different in each country and platform.

WA Face Privacy

How it works

You analyze the clip once, check the result and fix anything it missed. The controls follow these four steps.

STEP 1

Find the faces

Click Analyze clip. It goes through every frame and saves what it finds in your project. You can cancel at any point and keep what's done.

  • Adjust sensitivity and minimum face size
  • A slower, more thorough mode for small faces in the distance
STEP 2

Pick how they're hidden

A square or oval blur, an emoji, or an image of your own. You can change this later without analyzing again.

  • Blur strength
  • How much extra area around the face to cover
STEP 3

Leave some people unblurred

Optional. Click on yourself or a friend in a frame and save them. They stay visible for the rest of the clip. If it isn't sure it's them, it blurs them anyway.

  • Off unless you set it up
  • Saved as a file on your Mac
STEP 4

Check and fix

Show the blur boxes on top of the video to see what's covered. If it missed someone, draw a box on their face and it follows them through the shot.

  • Fills short gaps where a face was lost for a moment
  • Keeps covering faces as they leave the frame
Mask overlay view: cyan shapes over every face on a busy footbridge
Step 4, Mask overlay. Cyan shows what's covered, so a missed face stands out straight away.

Please watch the result before you publish. It can miss faces that are very small, blurry, turned sideways or partly hidden. The overlay view makes those easy to spot, and fixing one takes a few clicks.

Photo-walk tools

Tools for photo walks

I make photo-walk videos myself. These three tools started as fixes for the jobs I found slow and boring, and had to repeat by hand for every video.

Arrange Photos

The problem: after a walk I'd have the video and dozens of photos. I had to scrub through the footage to find the moment each photo was taken, then place them one at a time.

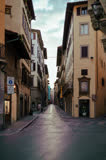
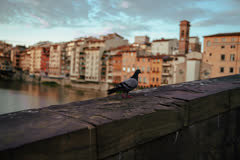
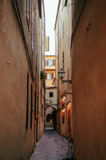
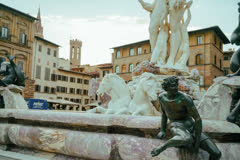
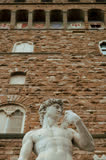
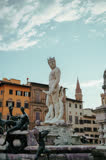
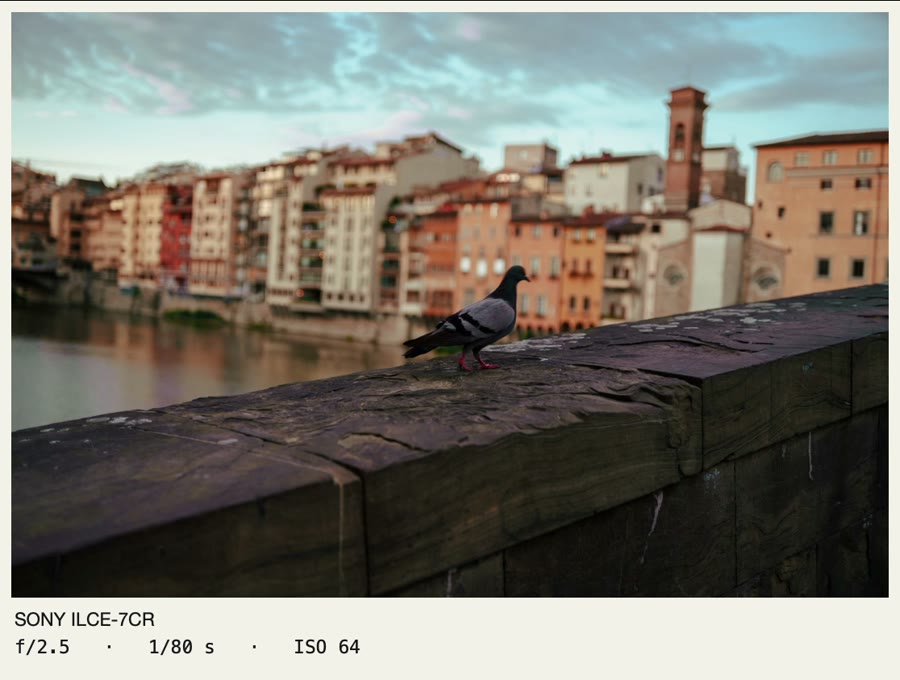
Now I select the photos and run Arrange Photos. It spaces them out using the time each one was taken. Above are ten photos from a walk in Florence. The pigeon on the river wall was taken 5 minutes 37 seconds after the first photo, so that's where it lands. Then I drag the whole group to line it up with the video.

Resolve: Workspace → Scripts → WALKABOUT
Premiere: Window → UXP Plugins → WALKABOUT
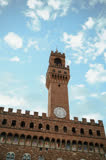
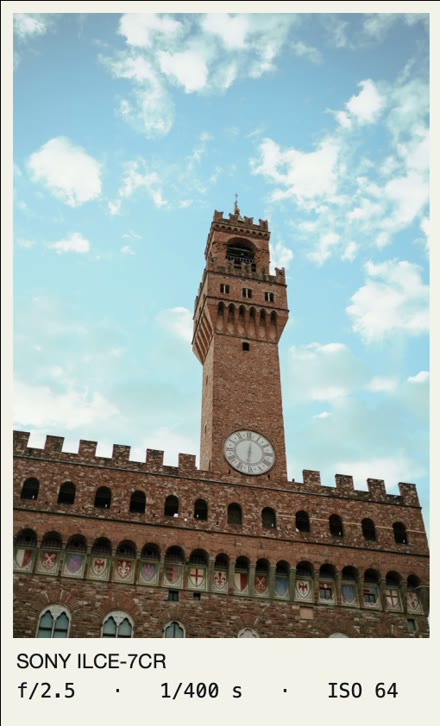
Photo of a pigeon on a wall by the Arno, framed with the caption SONY ILCE-7CR, f/2.5, 1/80 s, ISO 64 Photo of the Palazzo Vecchio tower, framed with the caption SONY ILCE-7CR, f/2.5, 1/400 s, ISO 64

Photo Presentation

The problem: the most common question in the comments is "what settings did you use?" Typing the camera, lens, aperture, shutter speed and ISO onto every photo by hand takes ages.

Photo Presentation puts a frame around the photo and adds its camera settings automatically, read from the photo file. These two are straight out of the effect with its default settings. You can change where the text goes, the font and the background.

Resolve: Open FX → WALKABOUT
Premiere: Video Effects → WALKABOUT

Contact Sheet / Best of the Walk

The problem: showing the best photos at the end of a video meant building a grid and animating every zoom by hand.

Contact Sheet shows up to 12 photos in a grid, then zooms into each one with its camera settings and goes back to the grid. You pick the photos and the timing. The animation is done for you.

Resolve: Open FX → WALKABOUT
Premiere: Video Effects → WALKABOUT

Everything in this section is real output from the plugins in DaVinci Resolve, using my own photos from Florence.

Requirements

What it runs on

It's only been tested on the setup below, so please check before installing.

MacSupportedApple Silicon (M1 or later), macOS 13 or later
DaVinci ResolveSupportedAll four tools, tested in Resolve Studio 21.1
Adobe Premiere ProSupportedAll four tools, tested in Premiere Pro 26.5
Intel Mac or WindowsNot yetTell me on GitHub if you need it.
FootageTested with standard (SDR) flat or reframed video. HDR, log and 360° footage haven't been tested yet.
Download

Free to use

All four tools are free. There's no trial, no account and no watermark. I made them for my own videos and I'd rather more people use them.

How to install

  1. Save your work and quit DaVinci Resolve or Premiere Pro.
  2. Open the downloaded installer and follow the steps. It asks for your Mac's password because the effects are installed for all users.
  3. Both installers are Developer ID signed and notarized by Apple, with the notarization ticket included. macOS can verify them when you open the downloaded package.
  4. Open your editor. In Resolve the effects are under Open FX → WALKABOUT and Arrange Photos is under Workspace → Scripts → WALKABOUT. In Premiere the effects are under Video Effects → WALKABOUT and Arrange Photos is under Window → UXP Plugins → WALKABOUT.
Questions

FAQ

Does my footage leave my Mac?

No. Everything happens on your computer. Nothing is uploaded and you don't need an account.

Will it catch every face?

Not always. It can miss faces that are very small, blurry, turned sideways or partly hidden, and now and then it blurs something that isn't a face. Turn on the overlay view to see what's covered, and draw a box on anything it missed. Watch the whole clip before you publish.

If I leave myself unblurred, what gets saved?

A small file on your Mac with the names you type, a few small pictures of each face, and the data it uses to recognize them. It isn't uploaded anywhere. If you don't use this feature, nothing is saved and everyone gets blurred.

Does it work with the free version of DaVinci Resolve?

WALKABOUT is tested in Resolve Studio 21.1. The free version hasn't been tested yet. If that's what you use, try it and tell me on GitHub whether it works.

Does it work in Premiere Pro?

Yes. All four tools work in Premiere Pro as well as Resolve. There's a separate installer for each editor, and you can install both.

Why is it free?

I built these tools to speed up editing my own photo-walk videos, and I'd rather more people get to use them. There's no catch.

Is there any support or warranty?

It's provided as is, without warranty. I fix bugs when I can, and new versions of Resolve or Premiere may need an update from me first. If something breaks, open an issue on GitHub so I can fix it.